Wall Top Air Sealing: What To Know

Matt, building performance expert, from Southern Energy Management holding sill seal and foam gasketing material on site for wall top air sealing

Topics in This Article

Why should you pay attention to wall top air sealing?

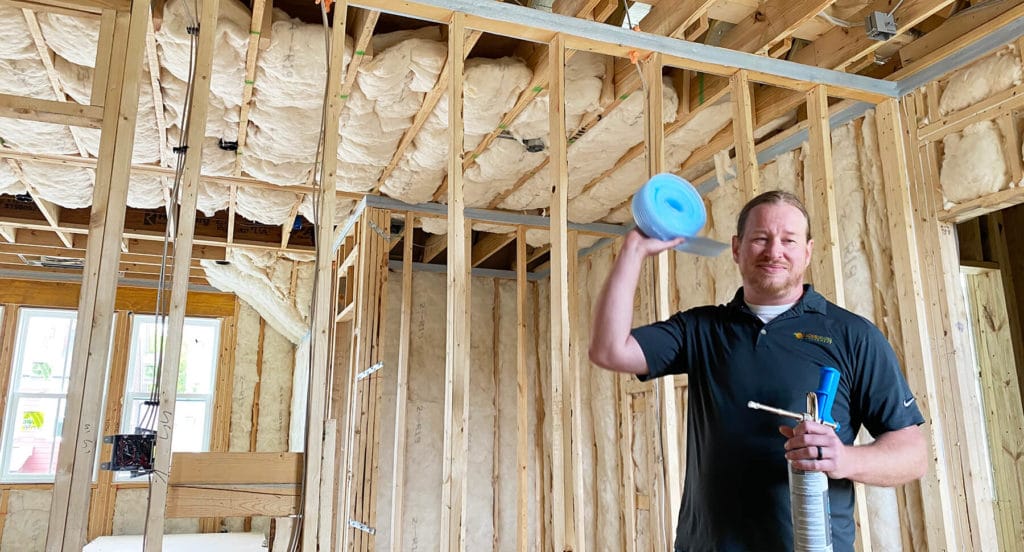
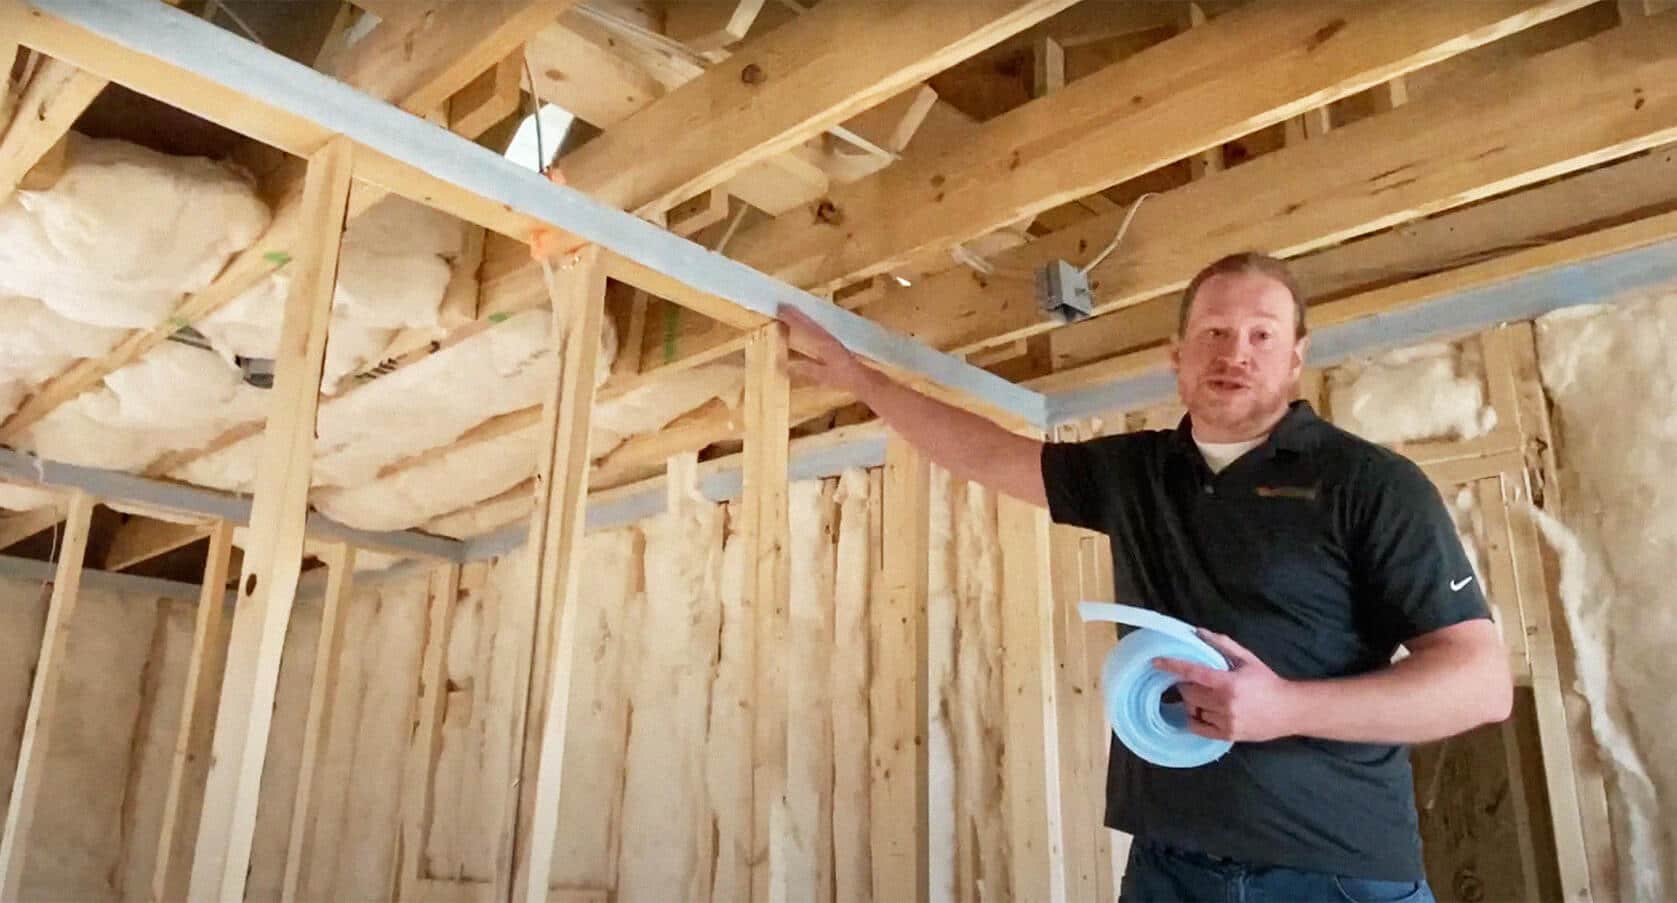
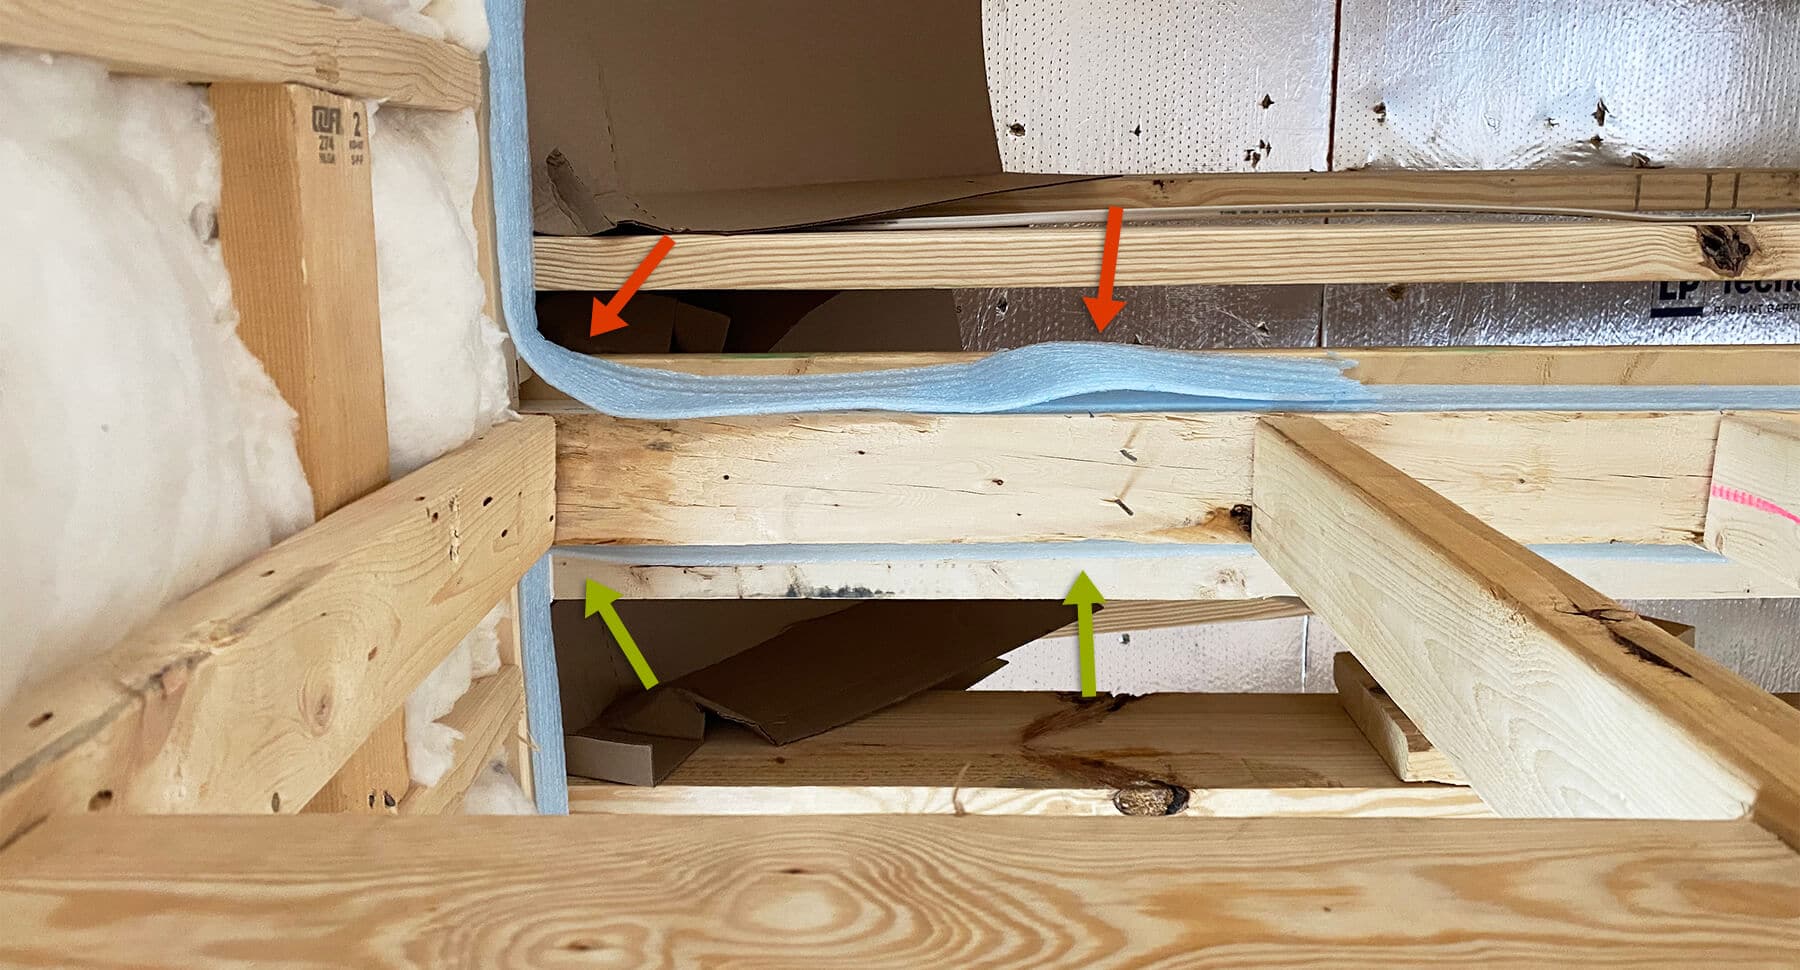
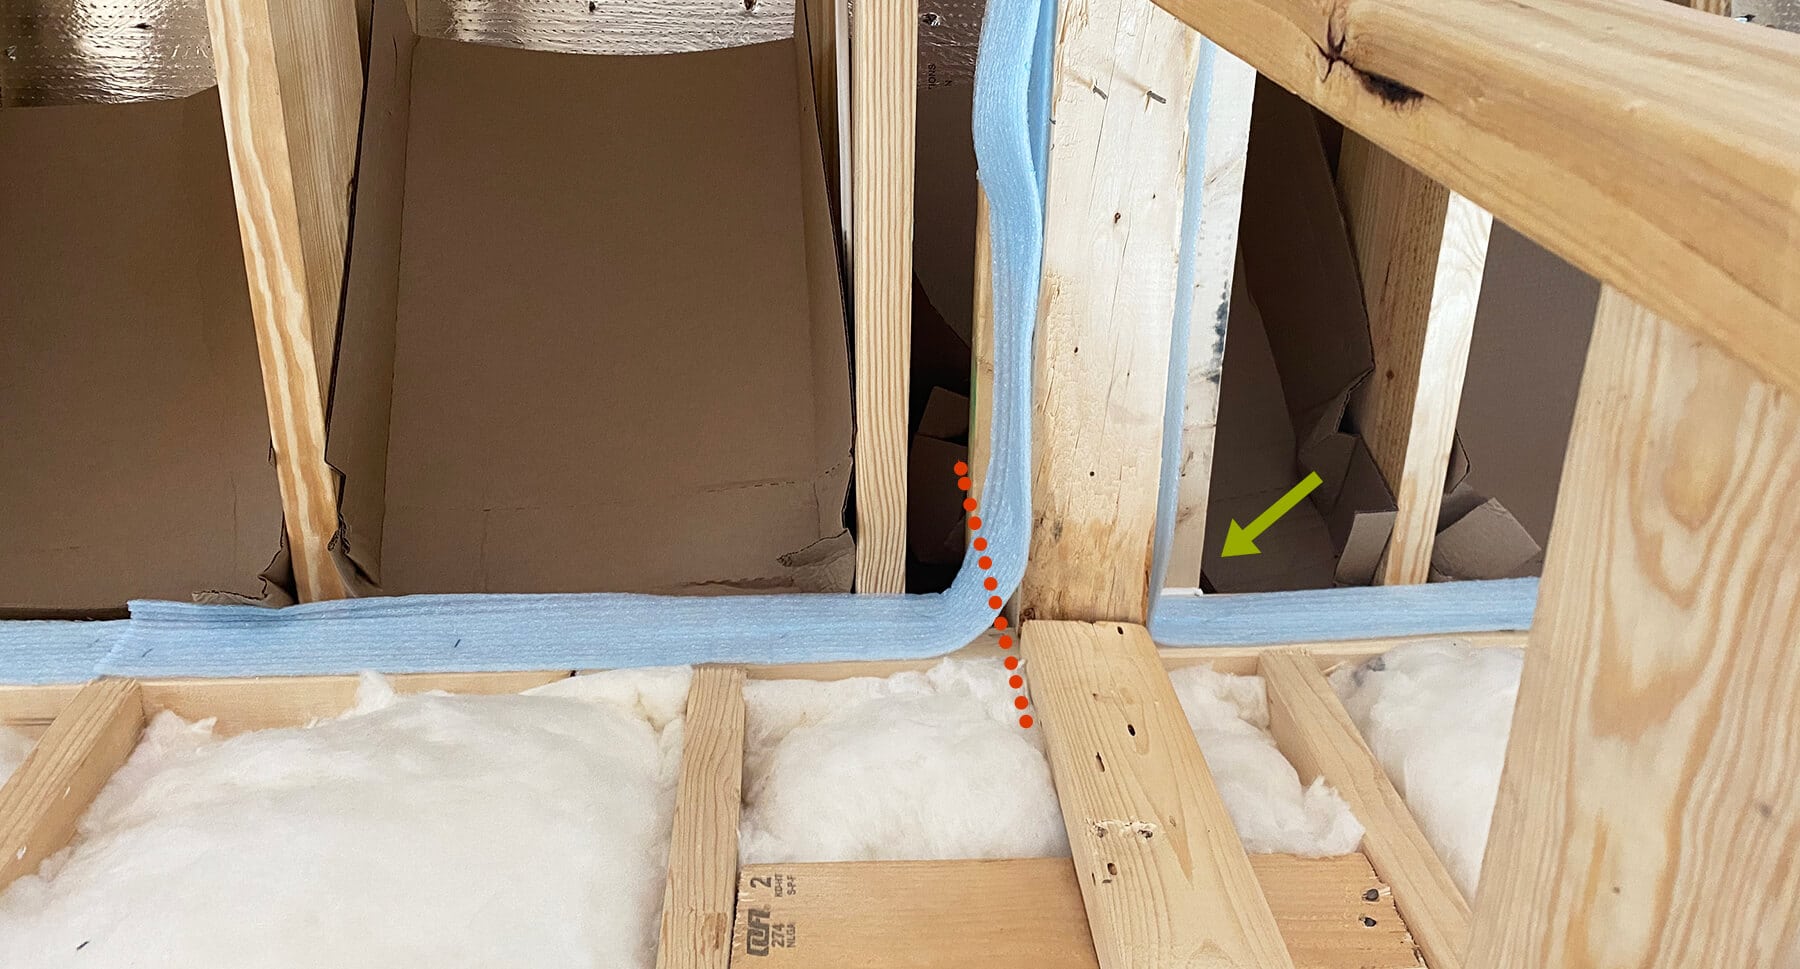
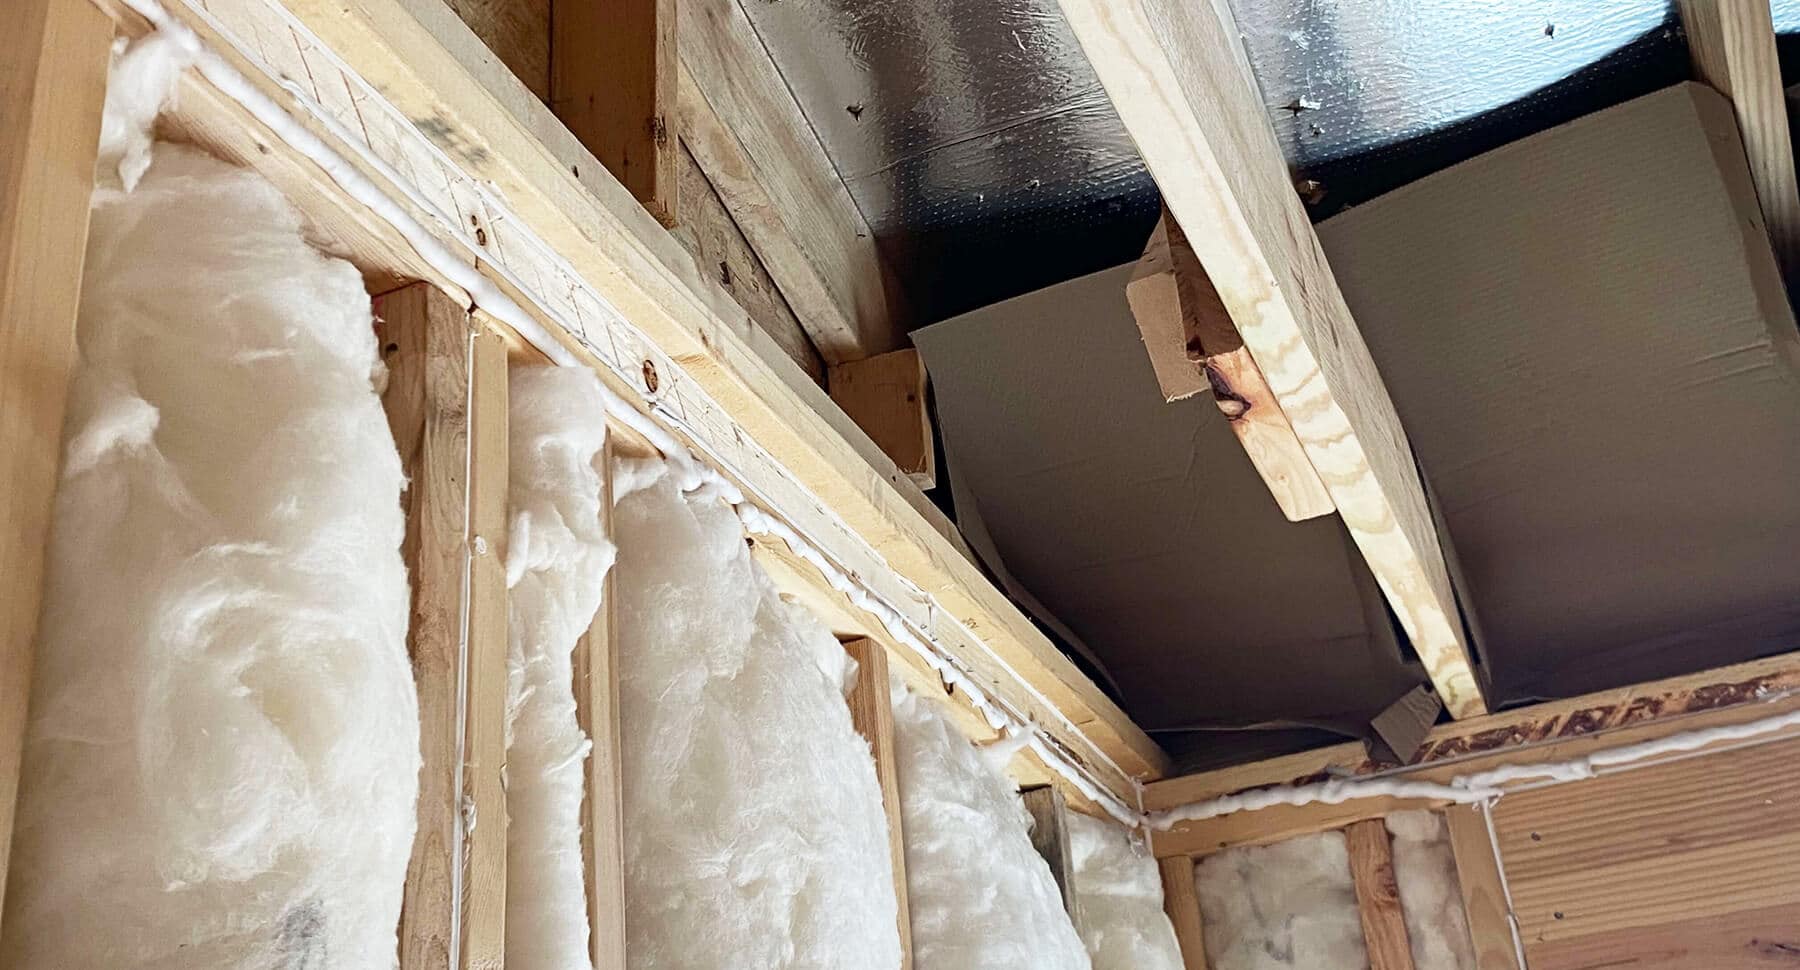
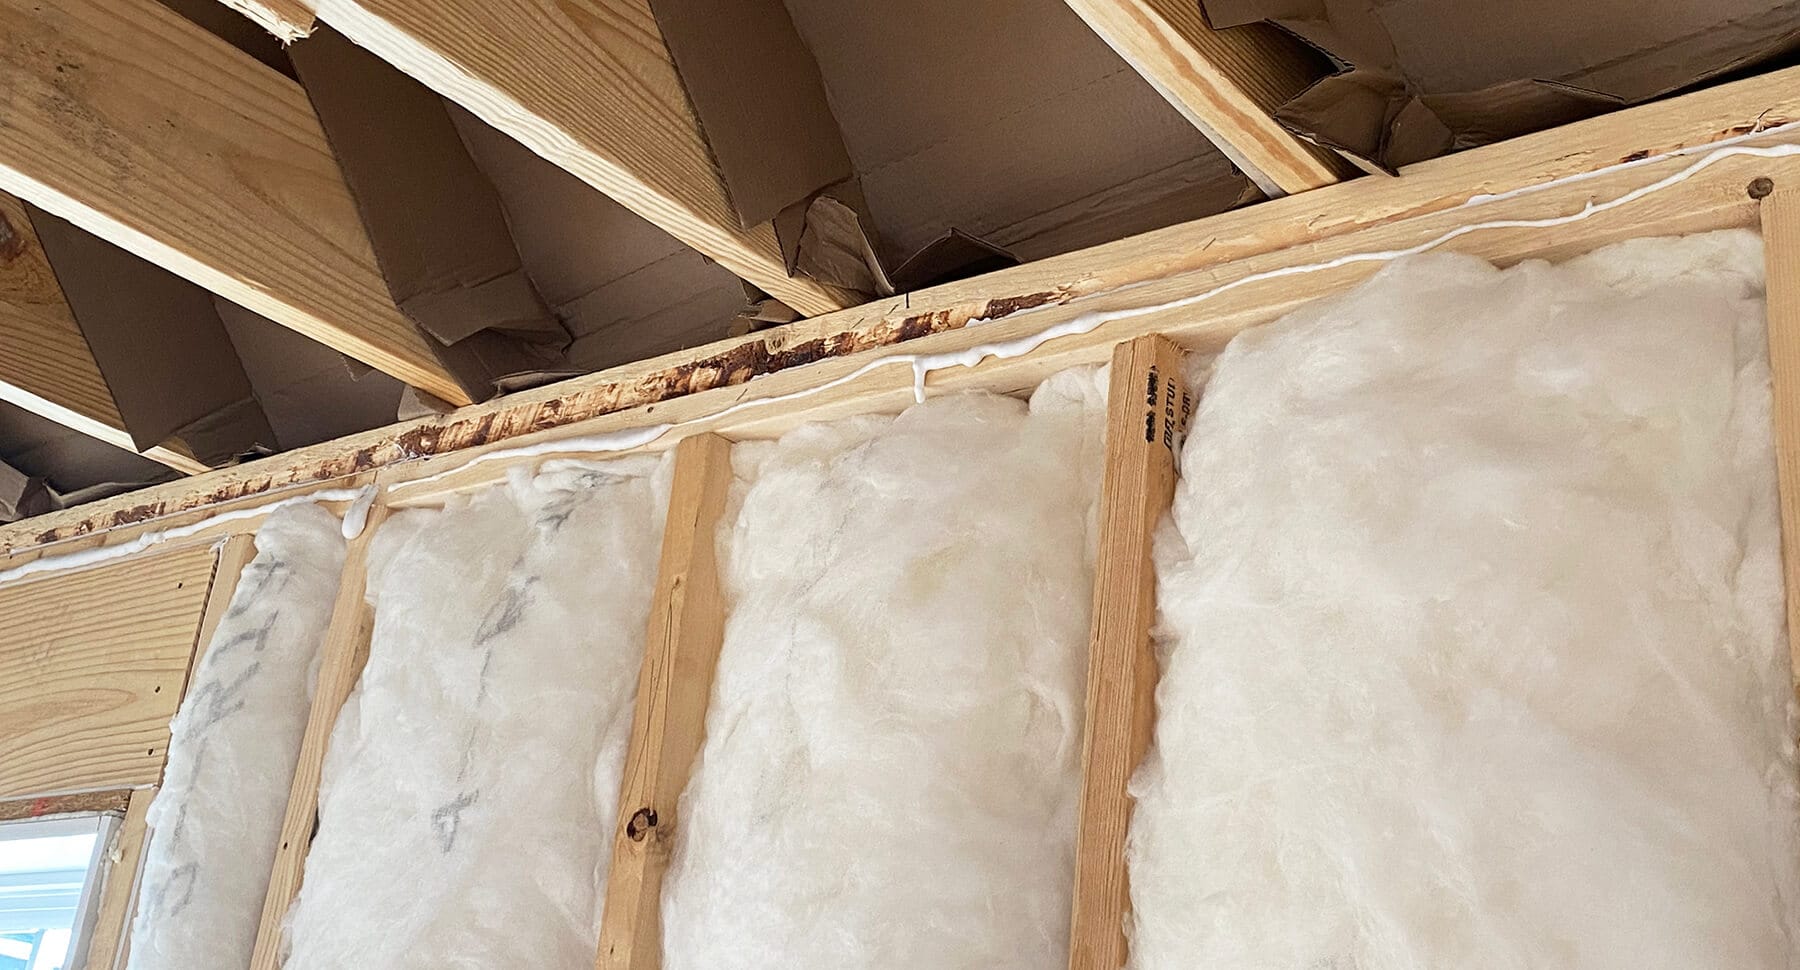
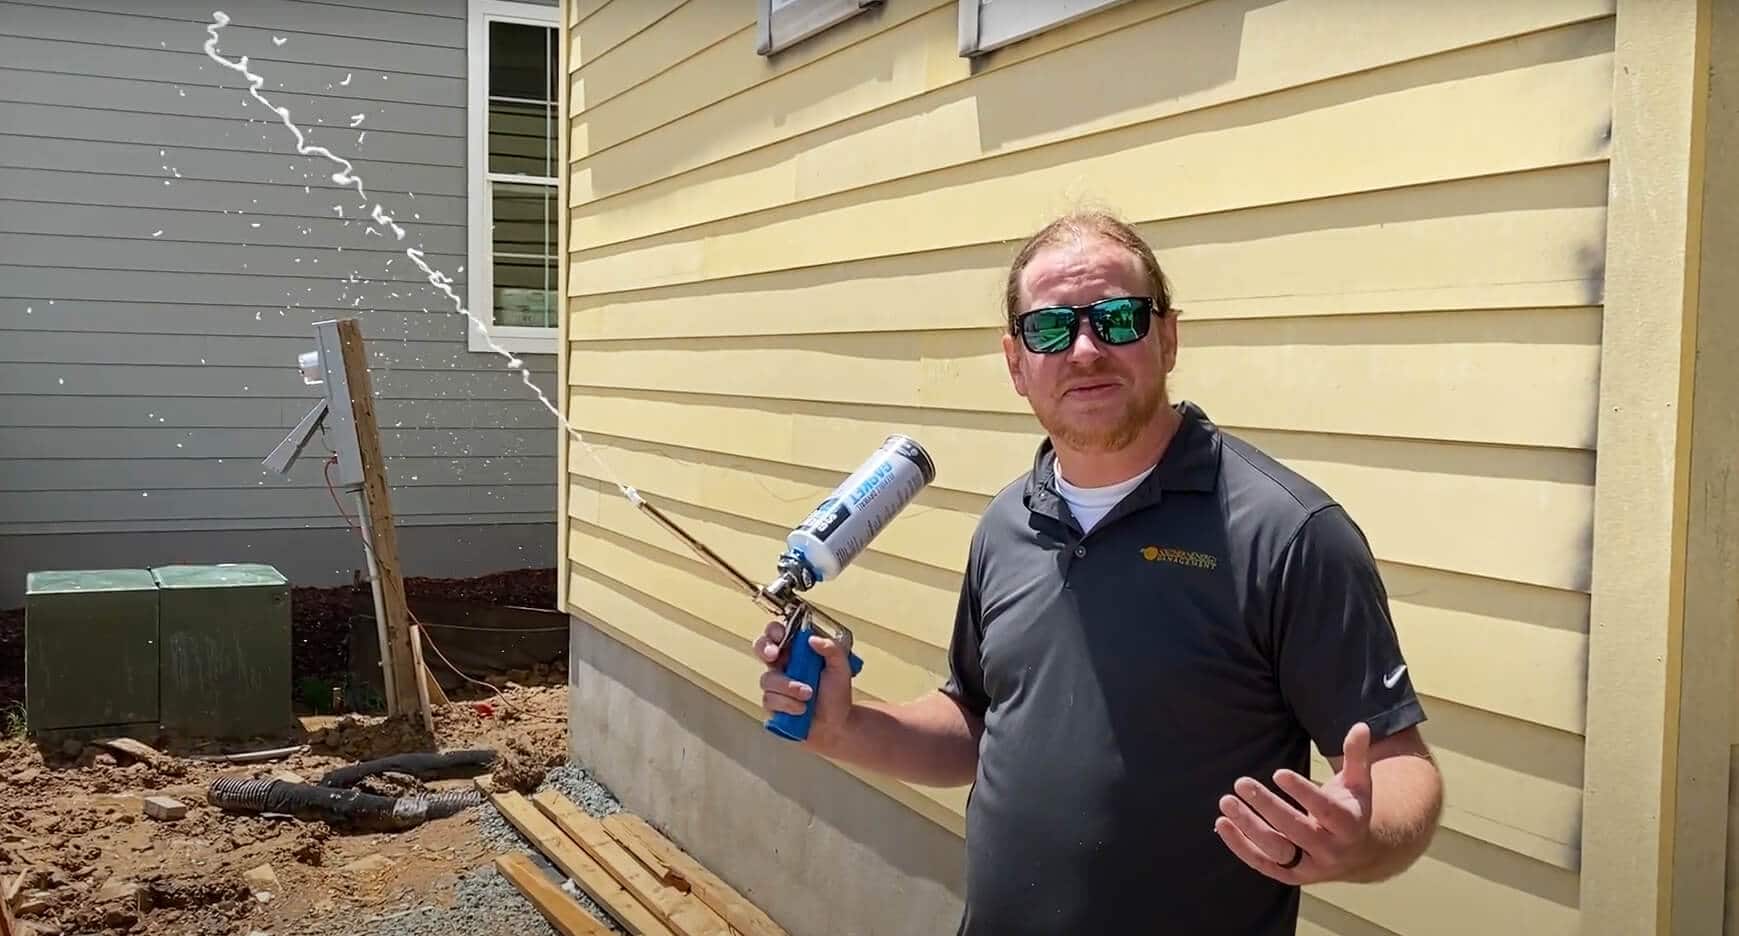
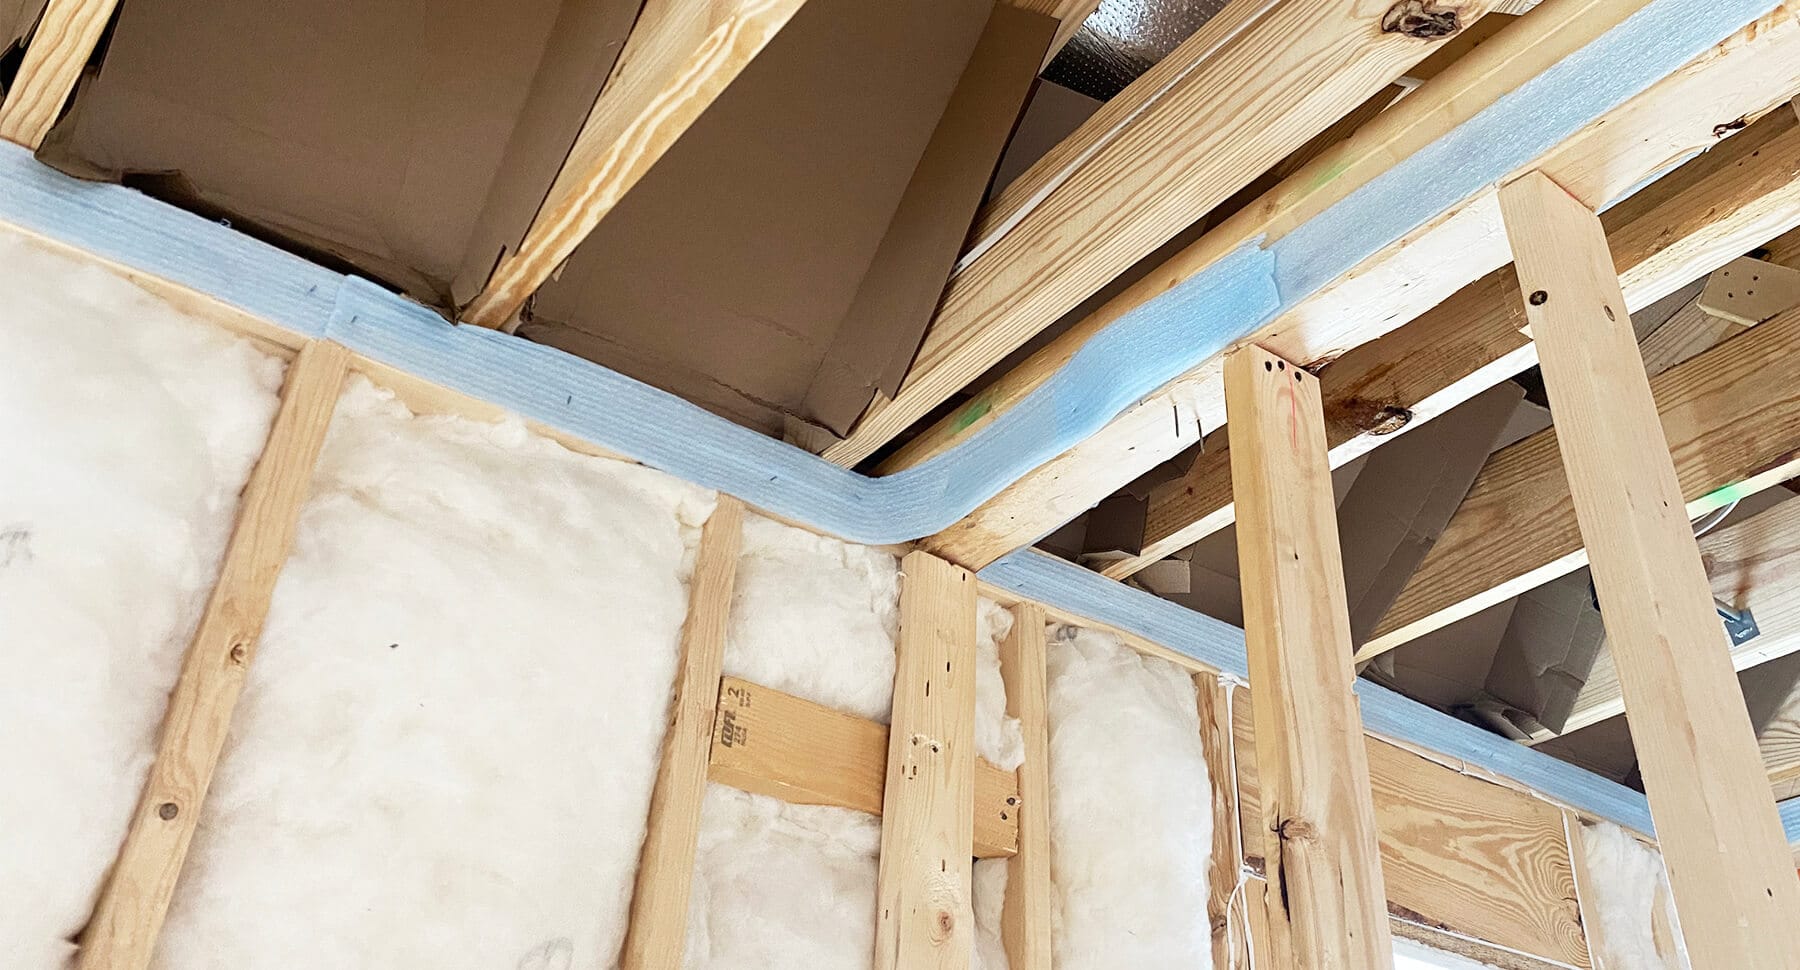
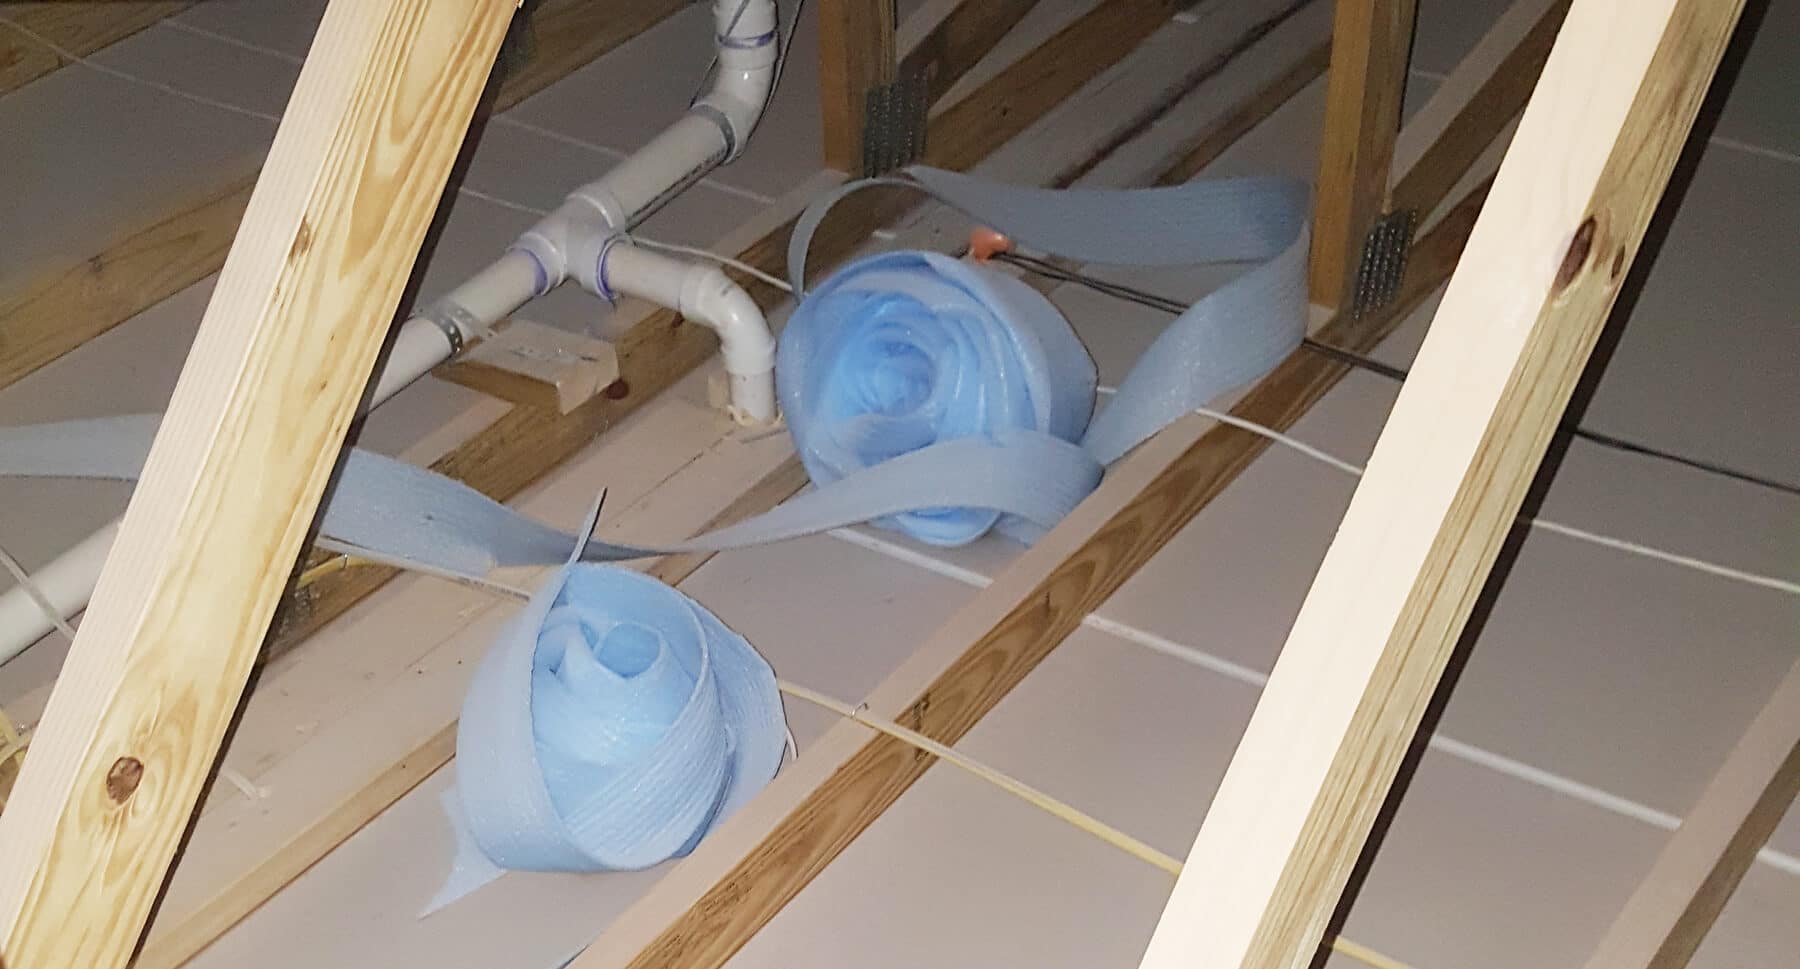
Today we want to talk about wall top air sealing. Once the drywall is installed to that top plate, there’s usually about a 1/8th inch gap all the way around. Although a 1/8th inch gap might seem small, when you consider this spread out across the entire home, all this leakage really starts to add up! This presents a huge opportunity to eliminate the mass amount of leakage and heat loss that happens through the ceiling. 

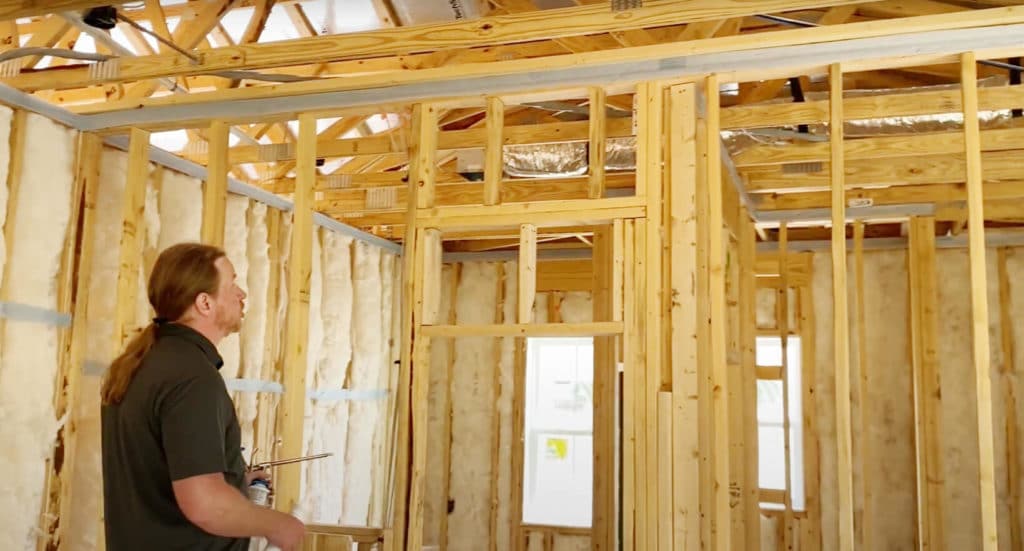
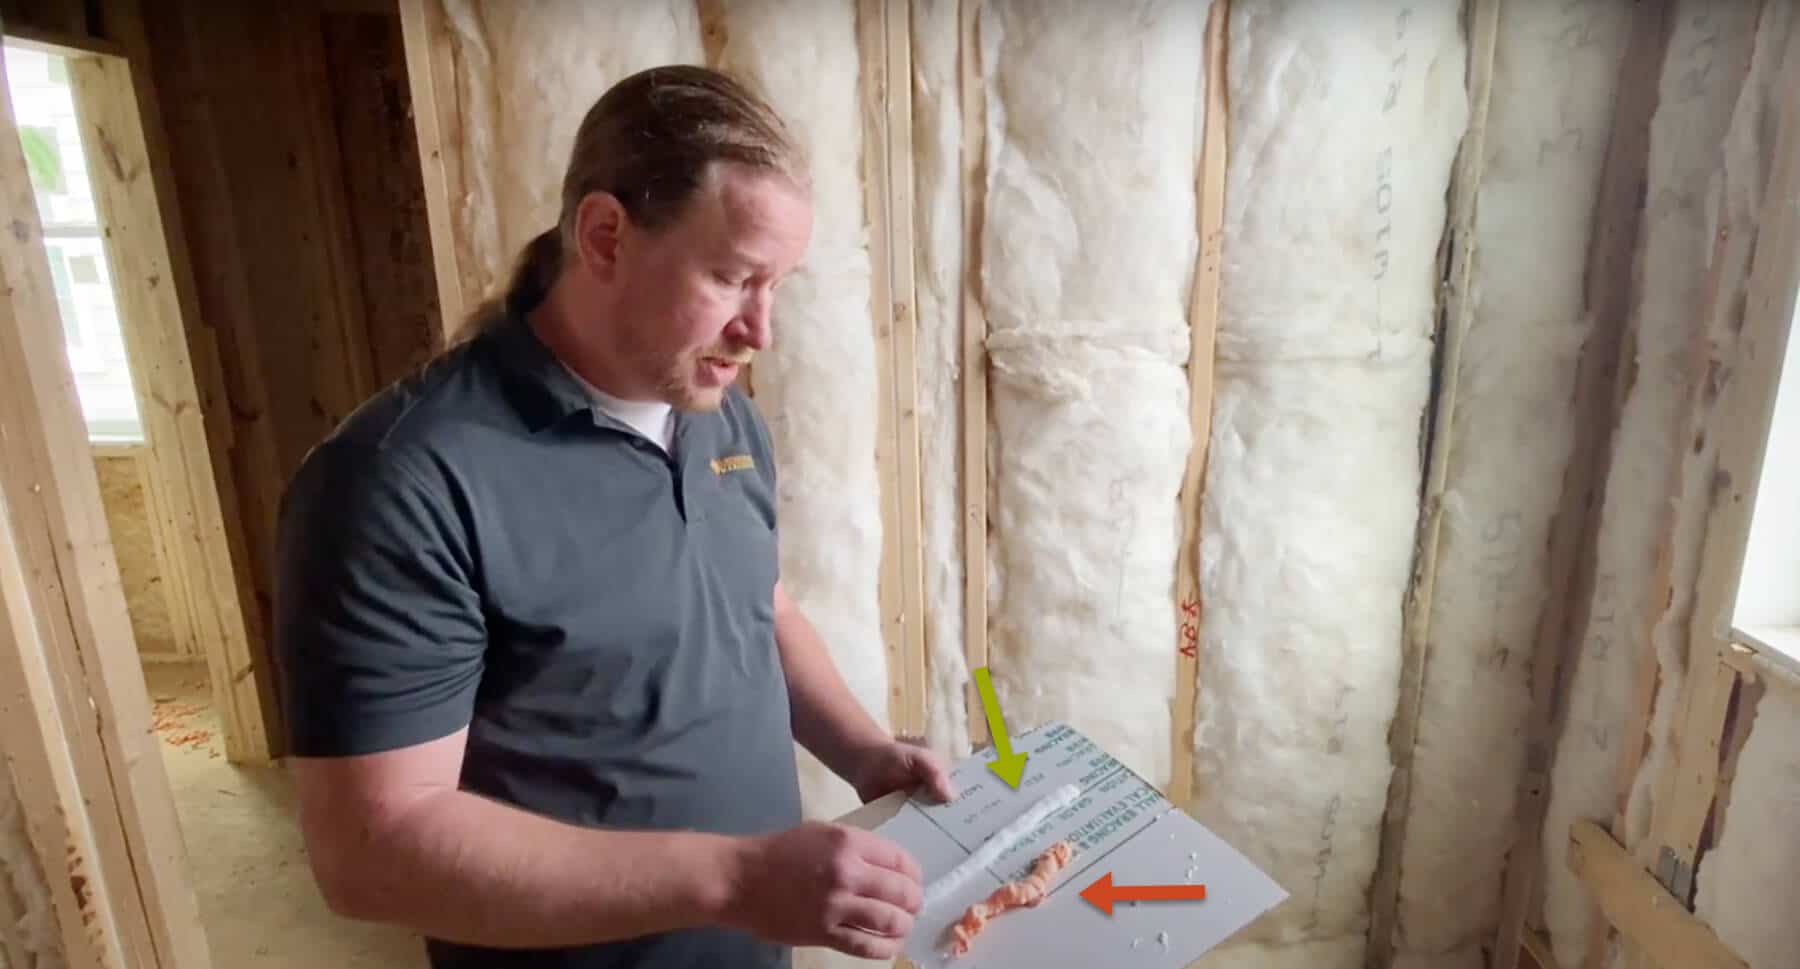
By applying air sealing techniques anytime we have walls below the attic, you can make your building tighter to improve performance — which may even help your homes meet requirements for rebate programs like Duke Energy-Progress’ HERO Code. Whether it’s for a code plus program, or if it’s a requirement for something like Energy Star, two methods we see the most are using a Sill Seal material or a gasketing foam. So let’s take a look at both and some of the pros and cons.

Traditional Sill Seal

Traditional Sill Seal is probably the most commonly used product for wall top air sealing. It’s accessible and it’s cheap. But, the devil’s in the details on the installation. If it’s not neat, and if it’s bumpy or uneven, it’s likely going to get ripped down when the drywall goes up.

The Good

This is an example of a good quality Sill Seal install. It’s nice and flat on the top plate, it’s supported by staples so that it’s not droopy or sagging. And most importantly, when we get to the corner, it’s angled tightly so it’s not rounded and there’s no gap. This material is actually pretty stiff and not flexible when we push drywall to try to lay flat against it.

The Bad & the Ugly

Here’s an example that’s not so great. It starts off okay, but when we get to this point, the gasket starts to overlap. That creates a bump that’s going to be hard for the drywallers to deal with, along with some risk for snagging. When we get to the corner, we see that it’s rounded. This is definitely going to be ripped down when the drywall goes up because the material is stiff and cannot be pushed down to lay flat the way it is installed here. 

You can also see a few nightmare examples from the field where the top plate gasket has been ripped down, turned into slithery Sill Seal snakes and foam flowers.

What happens when Sill Seal isn't installed correctly?

When your drywall is installed, it needs to lay flat over the top plate gasket in order to form an air seal. If the Sill Seal gasket is wavy, or the corners are rounded, when the drywallers lift the sheet into place, it becomes snagged. When the drywall becomes snagged on the gasket, the gasket comes down.

Pro Tip 1: Where to install the gasket?

One of the frequently asked questions we get about the top plate gasket is “Does it need to be installed up against the bottom side of the trusses?”. The answer is no! The seal is going to be between the top plate and the drywall, so there’s no extra credit for lapping it up onto the horizontal surface above.

Interior view of home under construction with sill seal wall top air sealing

Pro Tip 2: Which walls need to be sealed?

The other thing that’s important to remember is that we have to do all of our walls. Below attic space, interior walls count too. So, we want to make sure that we do both sides of our interior and exterior walls for the best possible seal.

Pro Tip 3: How to fix Sill Seal corners?

Another quick tip when you have rounded corners or you want to make quick corrections, is to slice the gasket right near the corner so it lays flat. Add a couple of staples, and you’re back in business.

Gasket Foam

A new product on the market in the last few years is a gasket foam that’s specifically designed for top plate gaskets. This foam works great when it’s installed properly. There are several brands available, but manufacturers’ guidance is pretty consistent that you need a ½ inch bead to form an effective seal between your top plate and your drywall.

Proper Gasket Foam Technique

This is what it should look like when it’s cured — About a ½ inch bead, nice and even, all the way across the wall top.

Poorly Installed Gasket Foam

Here is an example that’s not so great. This bead is inconsistent. It’s thick in some areas, running down the wall, and very thin in others where we know it’s not going to be able to form an effective seal on your wall top.

So remember, a ½ inch bead is really what you need to have consistently to get a good seal on your drywall tops! 

Using the Right Foam

Not all foam is made equal. It should go without saying that it’s important to make sure you’re using the correct foam. Typical fireblock foam is very rigid and stiff when it dries. It is not made to form a gasket seal, it is made to stop air leakage through holes.

When we’re making a seal at the top of our drywall, it’s important that we use a foam that’s soft, and creates a positive seal between the top plates and the drywall. 

But wait... there's more!

There’s a third wall top air sealing method too. You can actually lay your drywall into wet caulk, but the biggest con of this approach is you won’t have the third party verification from a HERS Rater that your wall tops have been sealed. At the final inspection, if the home doesn’t pass, sometimes it’s too late to correct it. 

What's Next?

So remember, there’s a huge opportunity to reduce your building air leakage by sealing those wall tops up properly. To review, there are several methods you can use. We recommend the Sill Seal or the foam gasket product which can be liquid applied. Either way you choose, the devil’s in the details. It needs to be neat, and it needs to stay there during drywall installation for it to work. 

If you’re in doubt about your wall top air sealing game, give us a call. We can tell you the good, the bad, and the ugly of your air sealing strategy. We’ll also be happy to host a training session with your crews to get things back on track. High performing homes mean happy, comfortable customers. And don’t forget, when you’re talking about air sealing, it’s hard to have too much foam!

Building Science Guide

Best Practices for High-Performance Homes
Free PDF

Ready to Get Started?

Schedule a meeting with us today to review your home performance goals and challenges.