- Matt Dovenbarger
- Michael Peaden
- June 16, 2021
- 7 Minute Read
Topics in This Article
Temporary air barrier alternatives for overcoming price hikes and shortages
Today we want to talk about secondary air barriers. A lot of y’all are used to seeing structural sheathing in your chases and on your knee walls in particular, but with recent price hikes in some wood products and actual shortages, this stuff can be hard to come by. So we want to look at some temporary alternatives because this is a critical detail when you’re talking about air sealing your home to protect the insulation in the walls and meet ENERGY STAR or HERO incentives.
We’re joined by Michael, from Prime Energy Group, who will walk us through these products and what we need to do to make them airtight.
Hello house wrap!
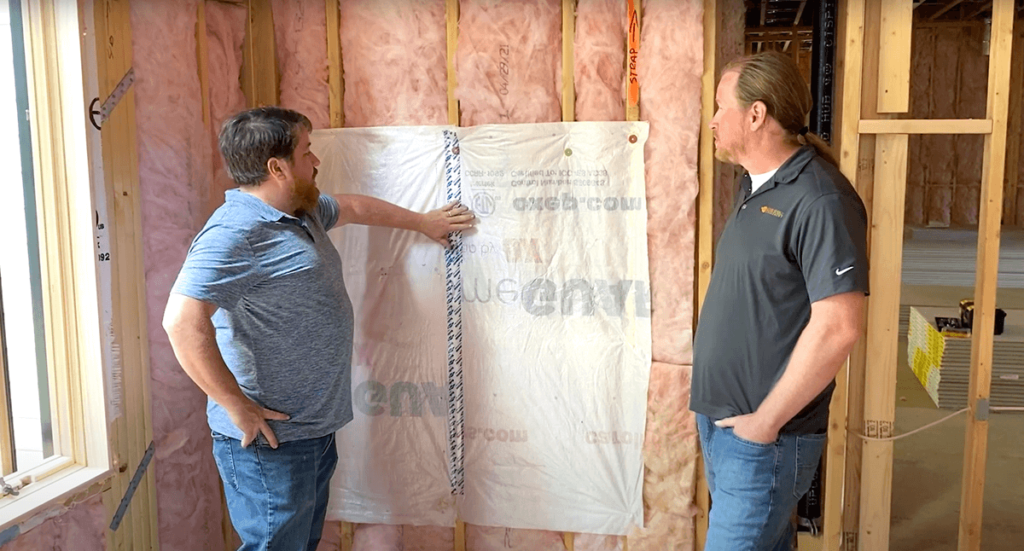
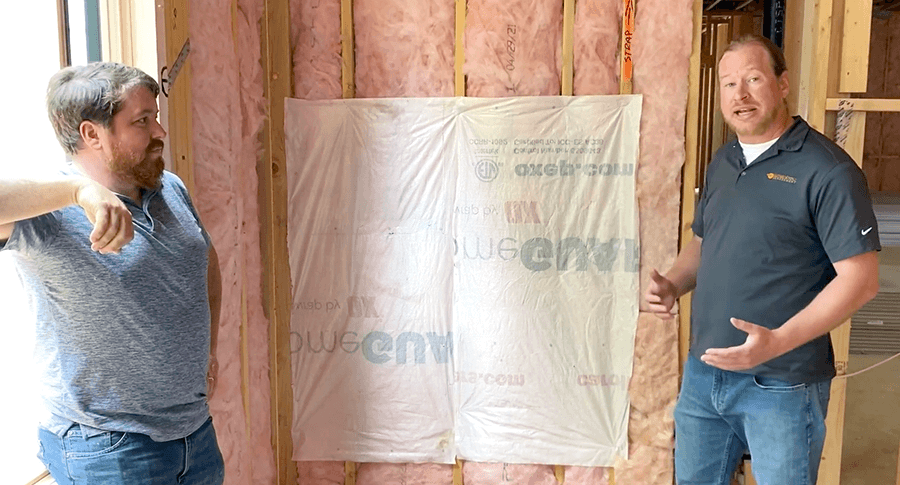
One of the most accessible products out there right now for covering your chases and knee walls is going to be house wrap. It’s not a perfect product and it needs some extra attention during installation, but it is compliant with programs like ENERGY STAR and ecoSelect.
With the proper installation steps that we’ll get into below, house wrap will be the best temporary alternative to structural sheathing because it provides an excellent stop-gap while we’re waiting for materials to be delivered when supply runs short.
Choosing the right house wrap
What we would like to keep in mind is that not all house wraps are created equally. Try to stay away from products that are paper-based or easily torn, and go for ones that are rated as an air barrier.
In general, it’s less about a one-size-fits-all product right now and more about using a product that is right for the situation and making sure that it is installed properly.
How do you properly install house wrap as an air barrier?
There are 3 things to keep in mind when properly installing house wrap as an air barrier: use the right fasteners, seal the ENTIRE perimeter with foam, and seal ALL seams with manufacturer-recommended tape. Let’s dive into the details:
Use the right fasteners
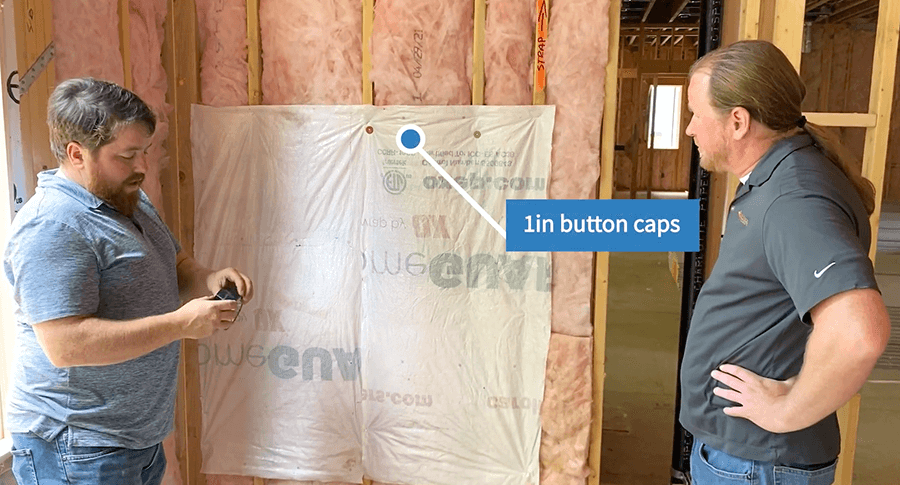
To support and keep the house wrap staying up, we want to use fasteners with caps or heads, like button caps. Keep in mind that if you choose to use a flexible air barrier like house wrap, for ENERGY STAR you’re required to use button caps with a head of one inch or greater in diameter.
Seal the ENTIRE perimeter with foam
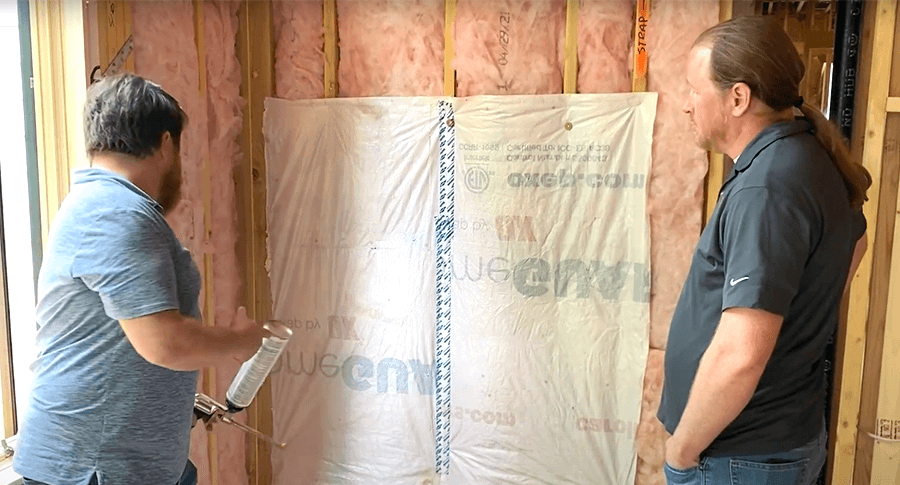
We want to pay close attention to the edges! This is the most challenging area for sealing house wrap. For these areas, we use foam and need to make sure that we are getting it in between the house wrap and the wood to form a positive air sealing. Foam is much better for air sealing in these locations compared to fasteners or sealing tapes.
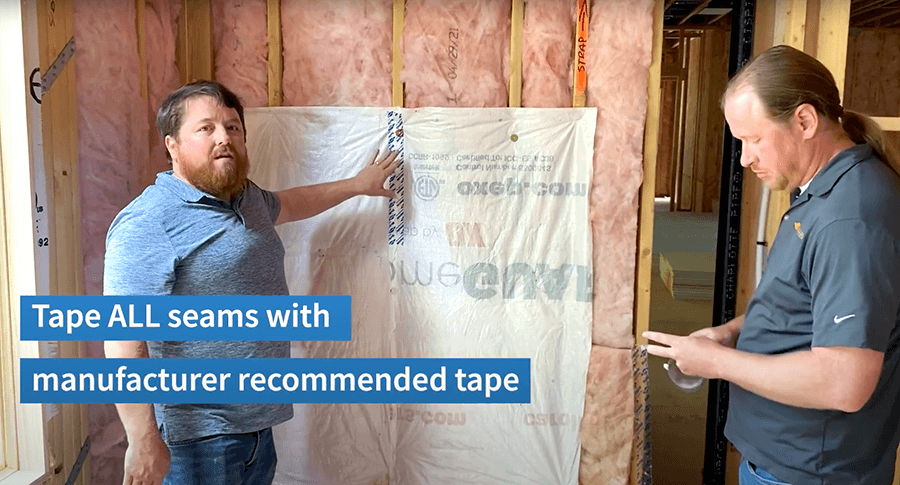
Seal ALL seams with manufacturer-recommended tape
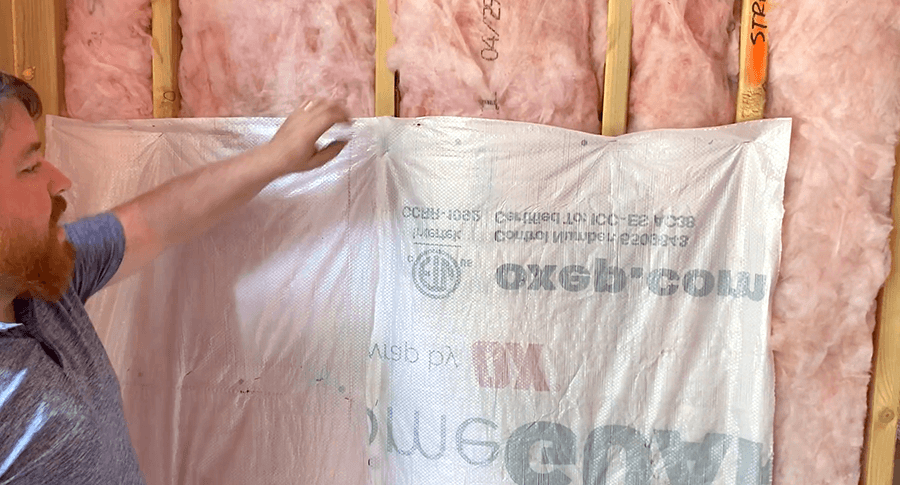
The next important to-do with house wrap products is to lock in two main places with seal tape at all seams of the house wrap and where house wrap products meet. When you’re choosing what type of seal tape to use, the rule of thumb is to match the brands of the house wrap and sealing tape. They’ve been rated to work together.
That's a wrap, folks!
As you can tell, it’s all about the installation and making sure that the products you are using are rated to be compatible with each other. There are many house wraps available on the market but we’d suggest starting with a house wrap that is non-woven and one that is rated as an air barrier.
So remember — button cap the edges (check), foam seal the perimeter (check), and tape the seams (check) so that we have an air-tight barrier in those locations.
This is critically important because it is going to stop air leakage in the house and help your insulation do a better job so that you have fewer warranty calls.
What's Next?
Alright, that’s it! Even with material shortages on the horizon and rising prices for wood products, we still have some good temporary options for sealing up those chases and knee walls and keeping houses tight this year. House wrap is what we looked at today, and when we do the details right, we can have a full program compliant solution that will help you meet ENERGY STAR or HERO code requirements.
Still have questions about this strategy? Give us a call or schedule a meeting! We’d be happy to help you get on track.
Ready to Get Started?
Schedule a meeting with us today to review your home performance goals and challenges.
About Us
North Carolina’s solar power and building performance expert. Founded in 2001, we’ve worked for 20+ years to improve the way people make and use energy.

