Ready to Get Started?
Schedule a meeting to review your home performance goals and challenges.
One of the most challenging changes in the 2018 North Carolina Energy Conservation Code (NCECC) is the new duct leakage requirement. Currently, new duct systems in North Carolina must be tested at or below 6% total leakage (6cfm per 100sq ft of conditioned area served) to meet code. After the Time’s Square Ball drops and the confetti settles, all homes permitted on or after January 1, 2019 must meet the new target at 5% total leakage or 4% leakage to outside (and a mandatory requirement of 3% or less leakage to outside under the new HERO code). While this may not sound like a lot, these numbers represent almost a 20% reduction in overall leakage.
What’s the difference between Total Duct Leakage (TDL) and Leakage to Outside (LTO)?
Total Duct Leakage can be tested at any phase of construction (rough or final) after the duct system is installed and the air handler has been set. The TDL numbers are raw and combine all leakage sources, including between floors, chases, and other conditioned spaces.
Leakage to Outside can only be completed during a final inspection after the building enclosure is substantially complete and sealed off from the outdoors. LTO measurement includes the use of the blower door test and generally yields much lower numbers than total leakage testing by about half. This is because we are able to isolate the leaks with additional testing between ductwork in conditioned spaces, (between floors and chases), and actual losses in unconditioned spaces (attics, crawlspaces, mechanical rooms).
Using the proper materials will help to ensure passing duct tests. Water-based duct mastic should be used on ALL connections and is critical to your success under the new NCECC requirements. Mastic can be messy, but it is inexpensive, adheres to almost all surfaces, fills the smallest gaps and dries like cement. Using chip brushes to “paint” mastic onto connections up to ¼” thick is our preferred method of install.
That being said, tape also has its place during installation but should never be relied upon to serve as the primary method of air sealing ductwork. Tape does not adhere well to dirty surfaces and cannot adequately seal all of the small holes in a duct system, particularly the small holes where duct collars are tabbed into the plenum or split
There are several critical areas that must be well sealed in order to meet the rigorous new requirements in the 2019 NCECC. Builders and HVAC contractors alike should be aware of best practice basics to meet the new mandated standards to avoid headaches and re-inspections in the New Year.
Due to the large size of plenums, poor connections at the air handler can lead to bigger leaks. It is important that the plenums are properly sized and well-sealed where they meet the air handler. Tape works well to bridge the gap and connect components, but any tape should be buried in mastic to ensure airtightness. Air handler doors should have complete weather stripping and mechanical fasteners to secure them in place. Central filter access doors, knockouts for refrigerant lines, and wiring should also be tightly fitted and well-sealed if possible.
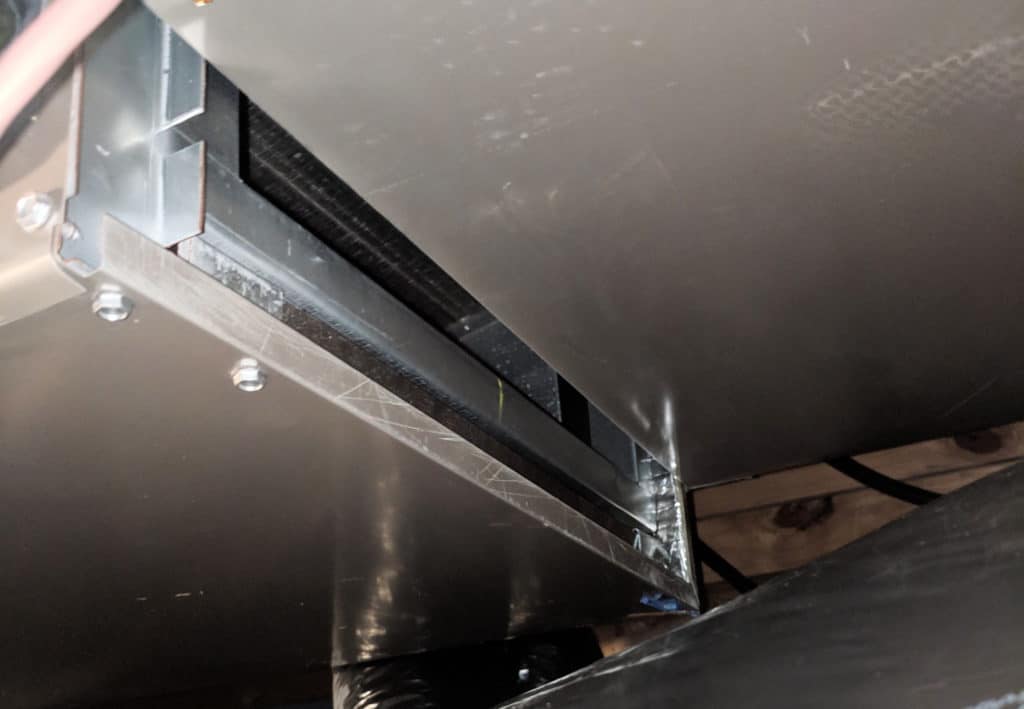
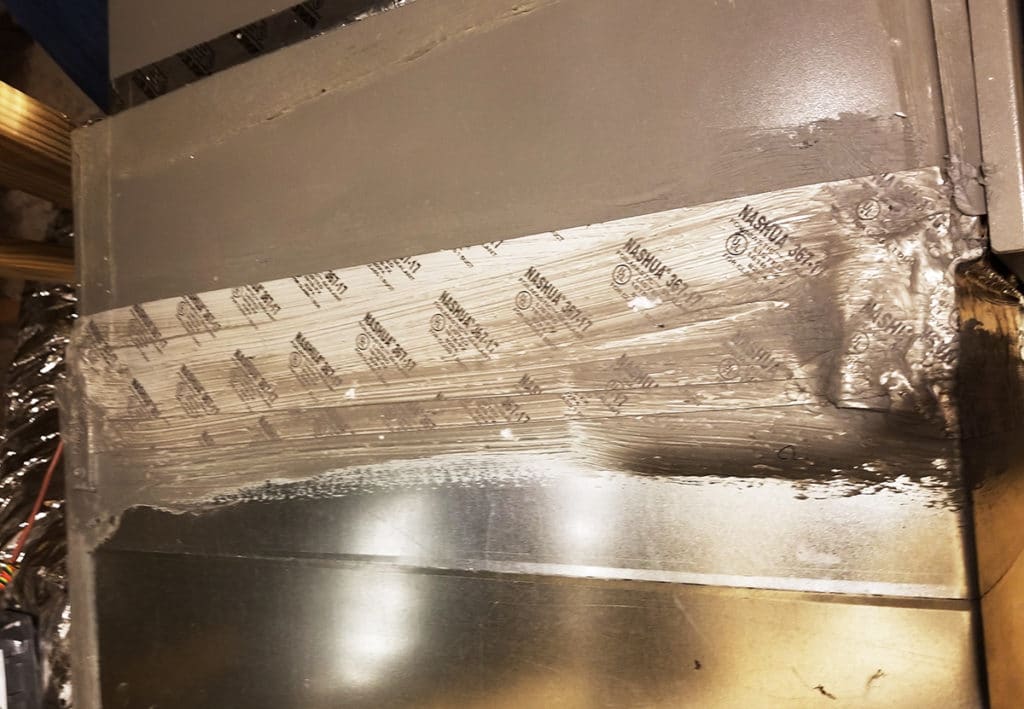
The tabs most commonly used to fasten duct boots to a plenum or box leave dozens of tiny triangular holes which can add up very quickly. Once the boots are installed, mastic should be used generously around the edge where the boot meets the plenum. This will significantly reduce TDL in particular as many of these connections will likely be in the attic or crawlspace.
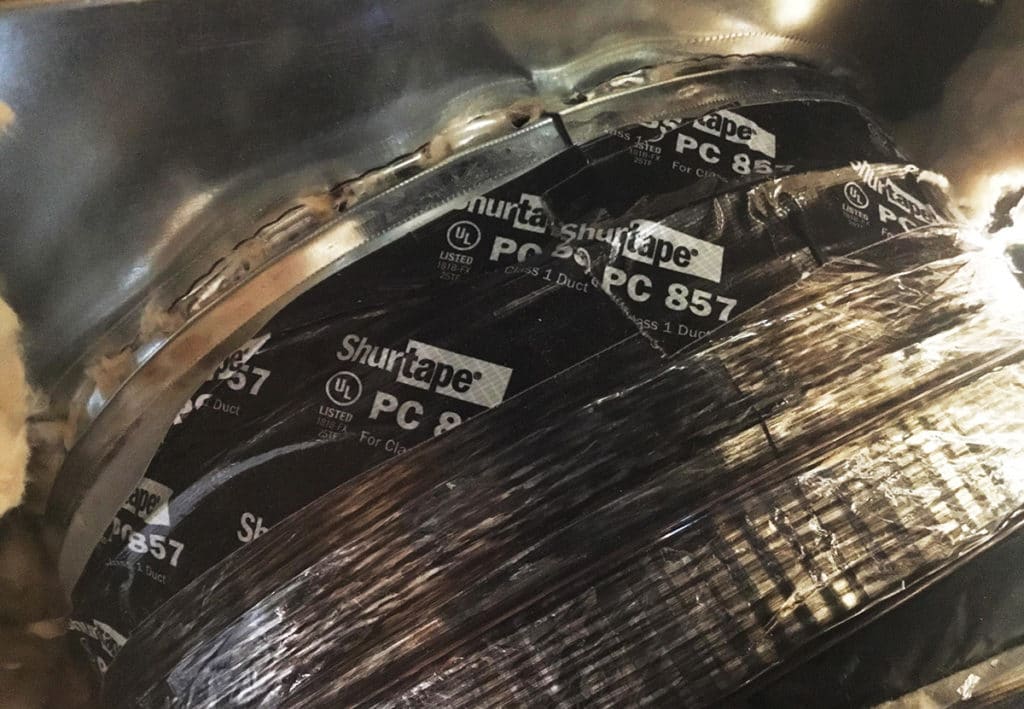
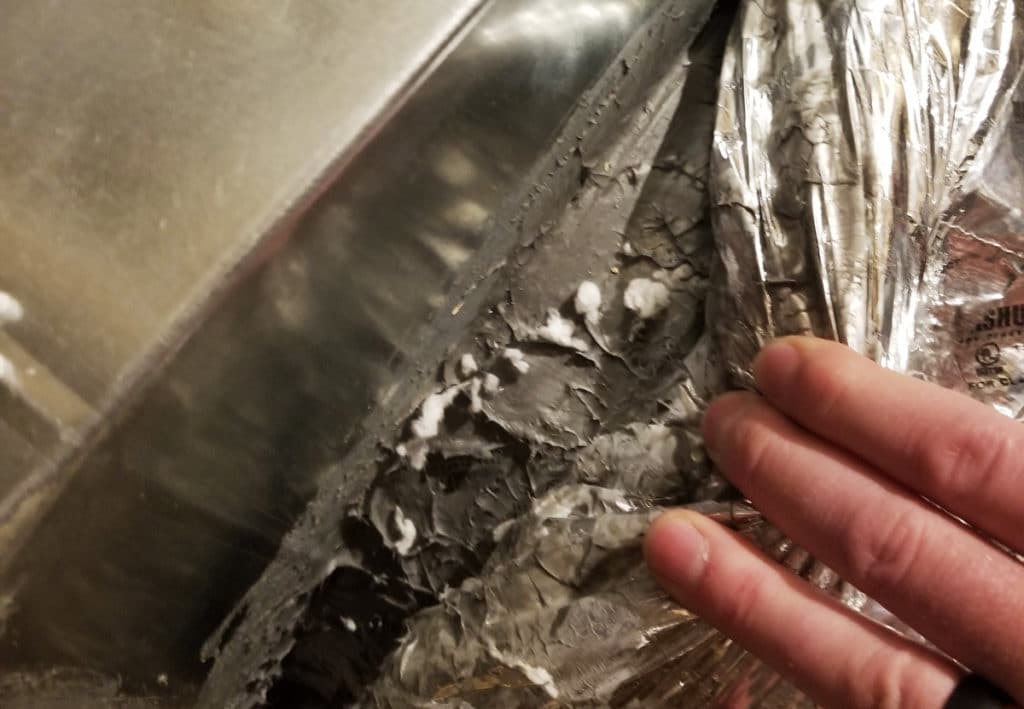
Mastic should be used generously on the metal duct boot BEFORE sliding the inner air liner onto the boot. This provides an extremely strong seal between the flex air liner and the metal boot. Mechanical fasteners such as zip ties, or tape can then be used on top of the already sealed air liner.
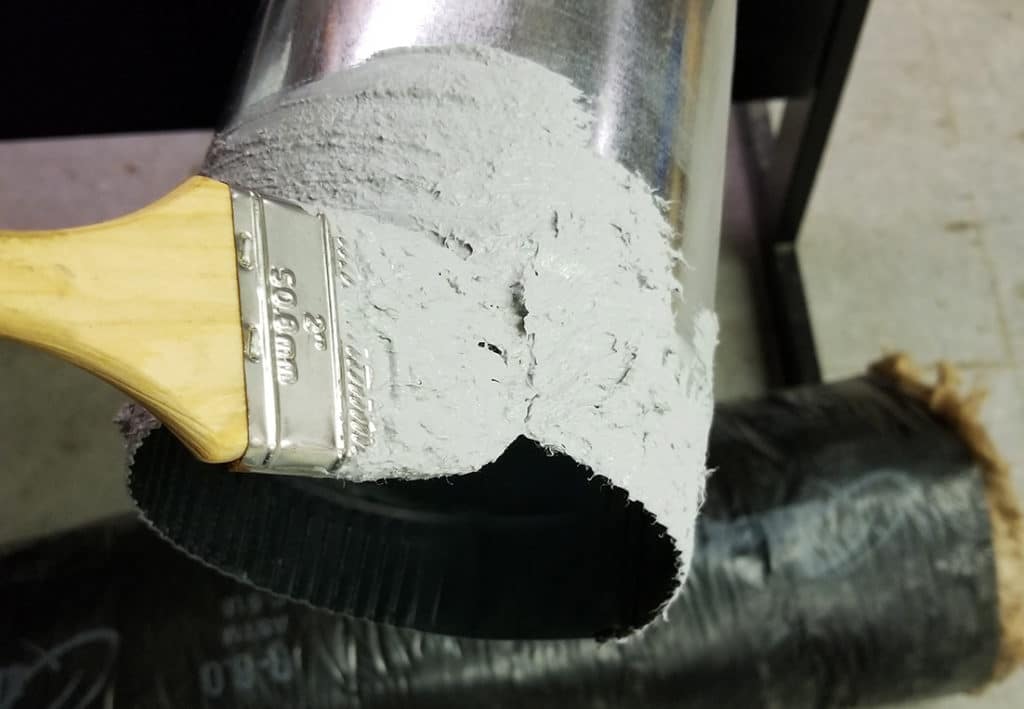
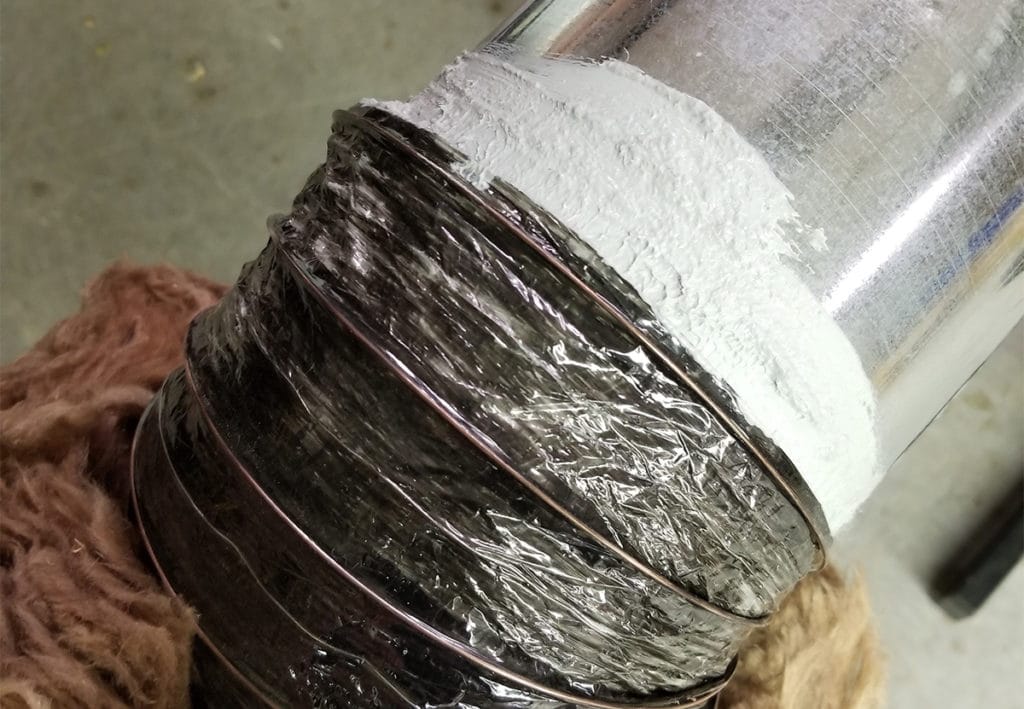
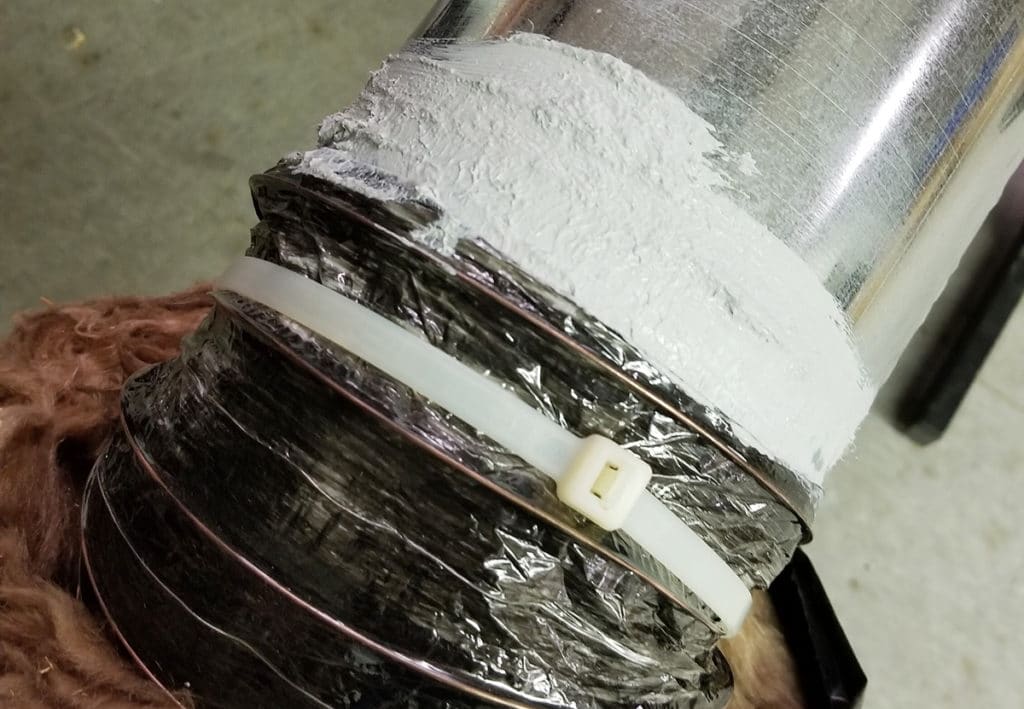
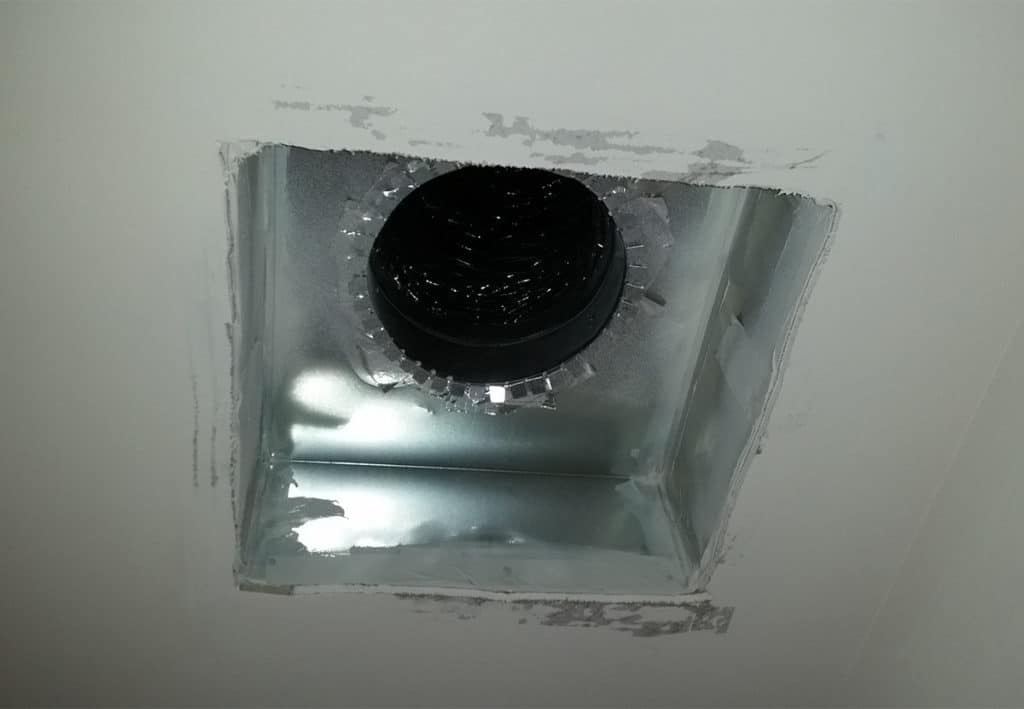
This detail is often missed as it may not be a part of an HVAC contractors scope because it is often completed by other tradesand is covered by the register. Completely sealing the gap where boots meet the drywall at all supplies and returns can have a huge impact on TDL and LTO. These can be sealed from the interior using inexpensive latex caulk. This is also a requirement for ENERGY STAR and ecoSelect programs and helps reduce building air leakage.
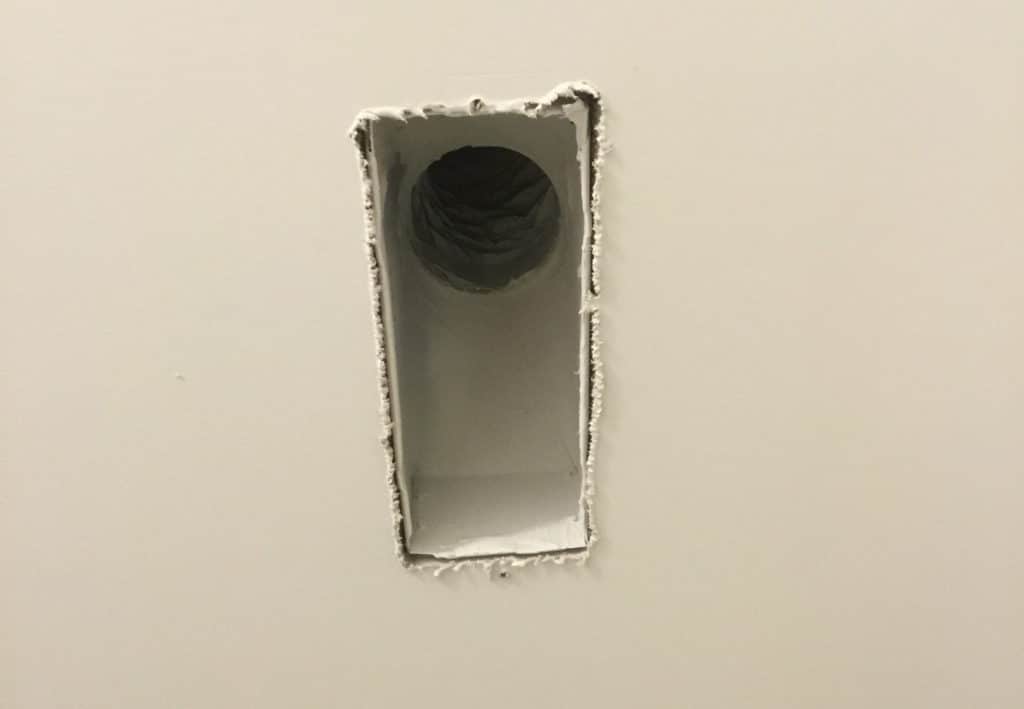
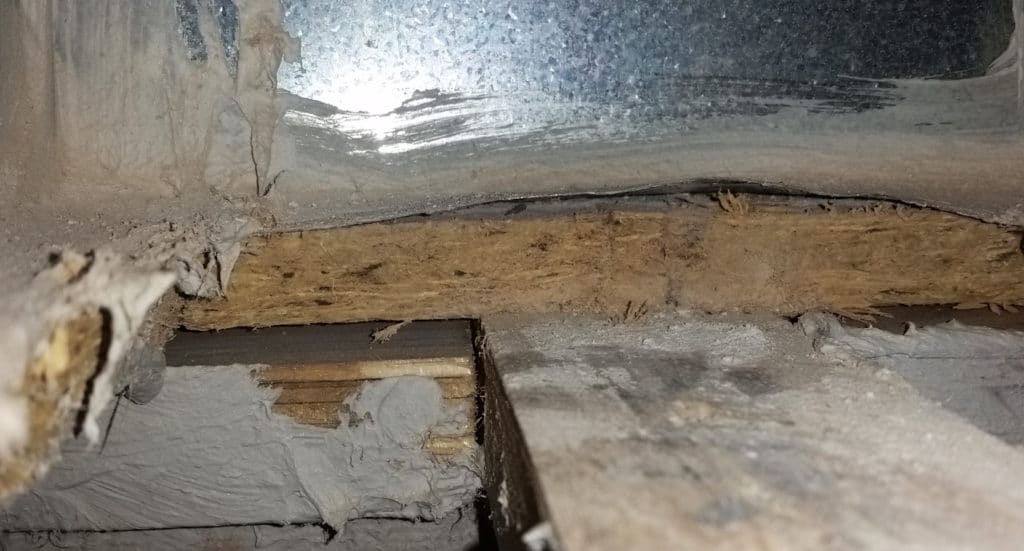
These types of systems are notoriously difficult to seal because of adding wood framing into the mix. Although it can be done, significant attention to detail is required to make these building cavities air tight.
As your energy efficiency experts, let us help you avoid leaking away profits with a full review of your duct sealing protocols and any other aspects of the 2019 code updates. You can see our Top 5 code changes to pay attention to as you examine the entire updated NCECC. We’re here to make sure your high performance buildings meet and exceed standards and continue to set you apart as a builder!
Schedule a meeting to review your home performance goals and challenges.
North Carolina’s solar power and building performance expert. Founded in 2001, we’ve worked for 20+ years to improve the way people make and use energy.